Short answer: Plan furniture layout and lighting together. Over-furnishing, pushing everything to the walls, ignoring small pieces, mismatched table heights, misplaced rugs, and rigid traditional layouts all create dark zones, glare, and switches that cannot be reached. The fix is to place fixtures in the activity zone the furniture creates, then specify type, mounting height, beam angle, and color temperature before walls close.
Key takeaways
- Furniture layout decides lighting: place fixtures in the conversation zone the furniture creates, not to the room's geometry alone.
- Over-furnished rooms block light and switches—use recessed, wall, and track fixtures to free floor space.
- Coffee table height should match the sofa cushion top; pendant bottom should sit 75–90 cm above the table surface.
- A rug defines the seating zone; center the pendant or downlights on the rug, not the room, or the light lands in the walkway.
- Builders need one fixture schedule before drywall; property managers need uniform SKUs, modular drivers, and anti-glare specs for fewer complaints.
Who This Guide Serves
Furniture layout is usually decided by designers or occupants, while lighting is decided by electricians—often too late. This split causes most lighting complaints. Two B2B audiences can prevent it:
- Builders and developers: you set the layout and lighting plan for model units, spec homes, and multi-unit phases. Decide fixture type, mounting height, and switch position before drywall, standardize one SKU family per phase, and hand buyers a plan that works with real furniture.
- Property management companies: you furnish vacant units, common areas, and model apartments repeatedly. Uniform fixtures, modular drivers, and anti-glare specs reduce resident complaints about dark corners or harsh light, and cut repeat maintenance calls.
Both audiences benefit from the same rule: light the activity zone the furniture creates, not the empty room.

Mistake 1: Using Too Much Furniture
What the original advice says: less is more. Cramming too many furnishings into a small room makes it feel crowded and chaotic. Choose a handful of quality, low-profile pieces that fill the area while leaving open space between items.
Why it breaks the lighting: bulky pieces block natural daylight, cast shadows across the room, and physically cover floor outlets, switches, and the light path of floor lamps. A crowded room usually ends up with one weak central ceiling light and dark corners.
Lighting fix:
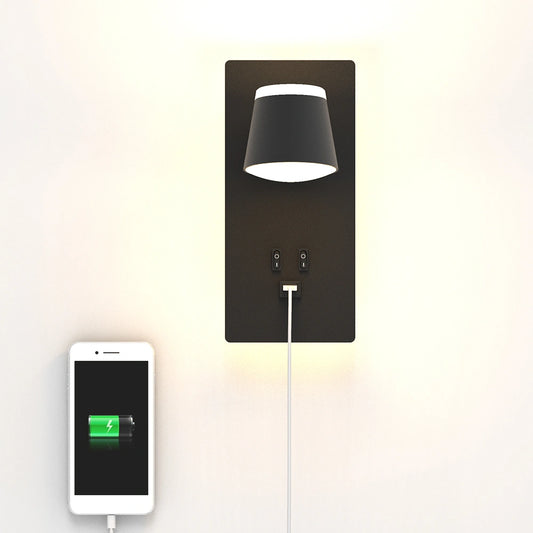
- Replace floor lamps lost to crowding with recessed anti-glare downlights (UGR<19) and wall sconces that need no floor space.
- Use 2700–3000K, CRI≥90 ambient light so wood, fabric, and finishes read accurately in a compact room.
- Keep at least one switch or sensor reachable without moving furniture—specify entry-wall or wireless scene control.
B2B note: builders should put downlights on a separate circuit from decorative pendants; property managers should stock one downlight SKU per unit type so replacements never require re-painting ceilings.

Mistake 2: Wallflower Furniture
What the original advice says: pushing all furniture against the wall may make the room feel larger, but you end up shouting across the room to converse. In the corrected example, the sofa "hangs" in the middle of the room, closer to the fireplace and chairs, forming a comfortable conversation area that defines how the room is used.
Why it breaks the lighting: when seating floats toward the center, a single central ceiling light no longer lights faces—it lights the empty perimeter. People sit in shadow while the walls glow.
Lighting fix:
- Treat the floating conversation area as its own zone: place a dimmable pendant or a cluster of downlights over the seating group, not over the geometric room center.
- Add symmetrical wall sconces or a floor lamp beside the sofa for reading; switch off the central pendant when only one or two people are present.
- Use 3000K warm white with layered control: all-on for gatherings, one lamp for quiet conversation.
B2B note: for builders, pre-wire the floating-sofa zone with a dedicated switch loop; for property managers, dimmable LED scenes reduce "too bright / too dark" complaints in shared lounges.

Mistake 3: Ignoring Smaller Furniture
What the original advice says: furniture does not have to be oversized to work. Large items quickly consume space, so do not ignore smaller benches, thinner console tables, and compact coffee tables. Bulky sofas usually fit only one place, while smaller pieces are flexible enough for multiple layouts.
Why it breaks the lighting: small flexible pieces get moved, but lighting rarely moves with them. A console or bench relocated for a party ends up in an unlit corner; a narrow entry table has no task light for keys or mail.
Lighting fix:
- Give every small piece a light: linear LED under-shelf or above-console accent for consoles, low-output wall washers for benches.
- In entries, pair a thin console with a motion-sensor cove or picture light, CRI≥90, 2700–3000K.
- Because pieces move, choose adjustable or track-mounted fixtures rather than a fixed pendant over a possibly-moved table.
B2B note: distributors and property managers can bundle a "small-piece kit": one linear profile, one driver, one sensor. Builders can approve a single adjustable family for all secondary zones.

Mistake 4: Not Adjusting for Height
What the original advice says: the size of the accent table should correspond to sofa height. The coffee table should reach the same height as the top of the sofa cushion. For a bedside table, place it at a height that makes items easily accessible, creating a balanced arrangement convenient for daily use.
Why it breaks the lighting: lamp and table heights work as a pair. A shade above eye level when seated causes direct glare; a shade far below creates a hot pool of light and dark surroundings. Wrong pendant height over a table either blinds sitters or lights the tabletop edge only.
Lighting fix (use these numbers):
- Coffee table: surface level with the sofa cushion top; pendant bottom hangs 75–90 cm above the tabletop.
- Bedside table: surface roughly level with the mattress top; table-lamp shade bottom near seated eye height so the bulb is hidden.
- Floor lamp beside sofa: shade bottom at or slightly below seated eye level (~100–110 cm from floor) to avoid glare while reading.
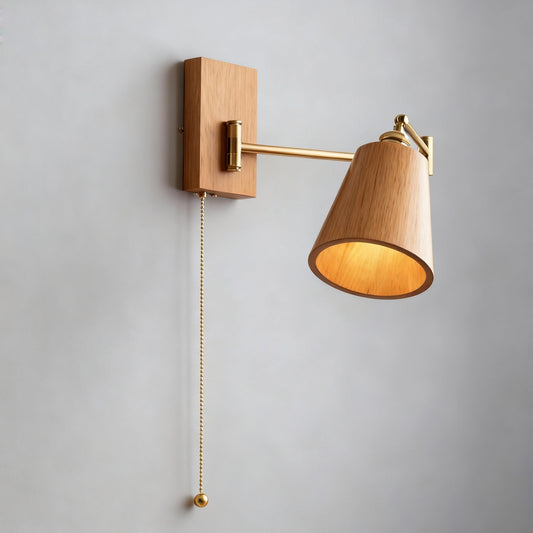
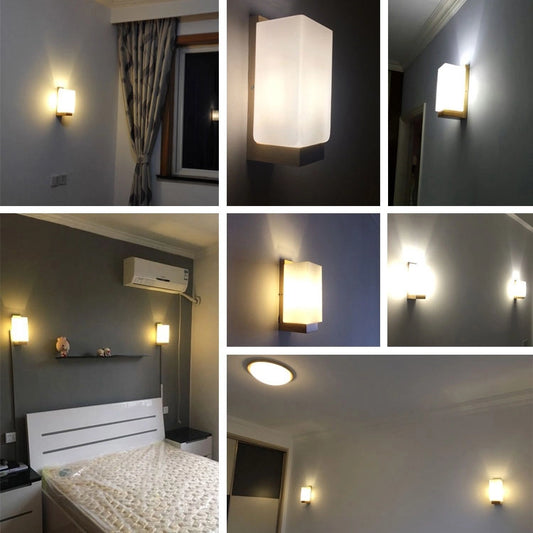
- Wall sconce: center about 140–150 cm above finished floor for living spaces.
B2B note: builders should put mounting heights on the fixture schedule, not leave them to the installer; property managers should specify anti-glare shades so residents cannot complain about visible bulbs.

Mistake 5: Poorly Placed Carpet
What the original advice says: ideally all furniture legs sit on the carpet. If that is impossible, place the front legs on the carpet, or layer rugs for a modern feel.
Why it breaks the lighting: the rug defines the seating zone visually, but lighting is often centered on the room instead—so the light pool lands on the walkway and the seating area stays dim. A rug that is too small also makes the zone feel disconnected, and any pendant looks off-center.
Lighting fix:
- Center the pendant or downlight cluster on the rug's center, not the room's center.
- Size the light pool to the rug: a medium-beam downlight (36–40°) suits standard ceilings; use a wider beam for large layered rugs.
- Add perimeter cove or floor-washer light to visually connect a small rug to the rest of the room.
- Keep 2700–3000K so rug fibers and wood tones stay warm under LED.
B2B note: property managers should standardize rug and pendant sizing per unit type so every vacant unit looks identical in photos—this directly improves listing appeal.

Mistake 6: Stick to The Traditional Design
What the original advice says: traditional design ideas are usually good, but layouts sometimes need adjusting. A rectangular dining table sitting in the middle of a room left only a little space; flipping it sideways and pushing it to the end of the room freed storage space and simplified traffic flow. The family now sits on a cushioned bench and enjoys mornings at the new kitchen banquette.
Why it breaks the lighting: when the table moves, the old central pendant stays behind—leaving the new banquette in the dark. Banquette and bench seating also sit lower and closer to walls, so a standard dining pendant height is wrong and guests knock their heads.
Lighting fix:
- Re-center the pendant over the new table or banquette position; for long banquettes, use a linear multi-drop pendant or two pendants spaced evenly.
- Hang the fixture bottom 75–90 cm above the banquette seat/table surface, and keep it clear of the wall to avoid head bumps.
- Use dimmable 2700–3000K for breakfast mood, and switch to 3000–4000 K when the same surface is used for homework or laptop work.
- Add under-bench or toe-kick LED for a floating, modern look and safe night movement.
B2B note: builders should confirm final dining/banquette position with the designer before ceiling rough-in; property managers should use switchable-CCT fixtures so one SKU covers eating, working, and relaxing in rental units.
Layout-to-Lighting Specification Table
| Layout element / common mistake | Recommended fixture | Mounting/beam spec | CCT & CRI | B2B note |
|---|---|---|---|---|
| Over-furnished small room | Recessed anti-glare downlight + wall sconce | UGR<19, 36–40° medium beam | 2700–3000K, CRI≥90 | Frees floor space; one SKU per unit type |
| Floating sofa conversation zone | Dimmable pendant or downlight cluster over seating | Bottom 75–90 cm above table; center on zone | 3000K, CRI≥90 | Pre-wire dedicated switch loop at rough-in |
| Console/bench / small pieces | Linear LED accent or adjustable spot | Under-shelf or above-console | 2700–3000K, CRI≥90 | Adjustable so light follows moved furniture |
| Coffee/bedside table height | Pendant or table lamp with anti-glare shade | Shade near seated eye level, bulb hidden | 2700–3000K | Put heights on the fixture schedule |
| Rug-defined seating zone | Pendant centered on rug, perimeter cove | Wide beam for layered rugs | 2700–3000K | Standardize rug + pendant per unit for listings |
| Banquette / flipped dining table | Linear multi-drop pendant, under-bench LED | Bottom 75–90 cm above seat, clear of wall | 2700–3000K / 3000–4000K switchable | One SKU covers eating, work, relax |
Builder and Property Manager Checklists
Builders and developers
- Confirm final furniture layout—including floating sofas and banquettes—before electrical rough-in.
- Issue a fixture schedule: model, cut-out, mounting height, CCT, CRI, beam angle, dimming, room, quantity.
- Standardize one trim and finish per phase so warranty replacements match across units.
- Keep pendants centered on the actual activity zone (rug, table, banquette), not the empty room center.
- Hand over an as-built schedule with driver model and replacement procedure.
Property management companies
- Specify uniform SKUs: same downlight, same pendant, same driver across all units and common areas.
- Require anti-glare shades (UGR<19) and 2700–3000K warm light to reduce resident complaints.
- Choose modular, replaceable drivers so a failure is a module swap, not a full fixture replacement.
- Use switchable-CCT fixtures (2700–3000K / 3000–4000K) in multi-use dining and banquette areas.
- Label fixtures by asset ID and keep a spare-part list for bulk reorder.
FAQ
How high should a pendant hang above a coffee table or banquette?
Hang the fixture bottom about 75–90 cm above the tabletop or banquette seat surface, and center it on the table or rug zone rather than the room center. This clears sightlines and avoids glare at seated eye level.
Why does pushing furniture against the wall make lighting worse?
Seating that floats toward the center creates a conversation zone away from the room's geometric center. A single central ceiling light then lights the empty perimeter instead of people's faces. Zone the lighting over the seating group and layer it with sconces or floor lamps.
What color temperature suits living and dining layouts?
Use 2700–3000K warm white with CRI≥90 for living rooms, banquettes, and bedrooms. Where a dining or banquette surface doubles as a study or laptop area, specify a switchable 3000–4000K option.
What should builders specify before drywall to avoid lighting rework?
Final furniture layout, fixture mounting heights, switch and sensor positions, dimming method, and one approved fixture SKU per phase. Confirm banquette and floating-sofa positions early, because moving them later leaves the old pendant in the wrong place.
Related products and resources
- Pendant lights for dining and conversation zones
- Anti-glare recessed downlights for living rooms
- Wall sconces and linear accent lighting
- Residential lighting specification guide
Planning a development phase or refurbishing a rental portfolio? Contact our specification team for fixture schedules, B2B pricing, and low-maintenance lighting programs.